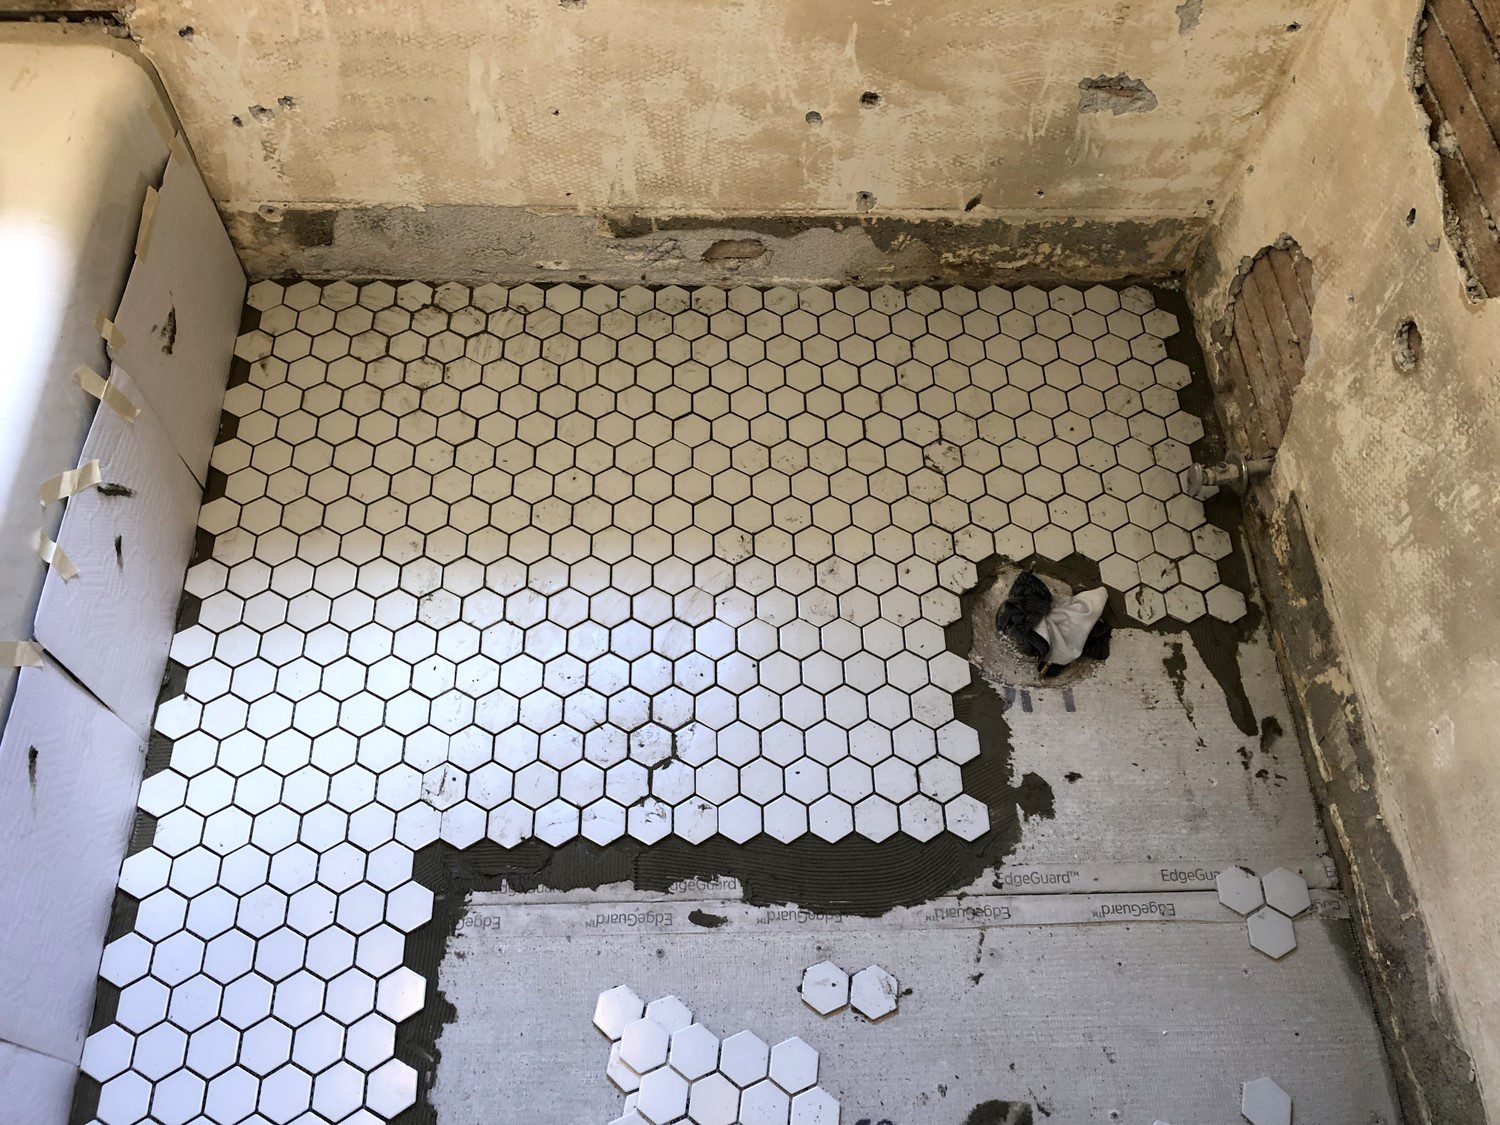
Mosaic tile is one of the oldest decorative materials. Ceramic, stone, enamel, glass and metal products are in great demand. They attract attention not only for their striking external features, but also for their excellent quality and affordable price. Before working with any material, you should read the instructions carefully so that the process runs smoothly and without unnecessary worry.
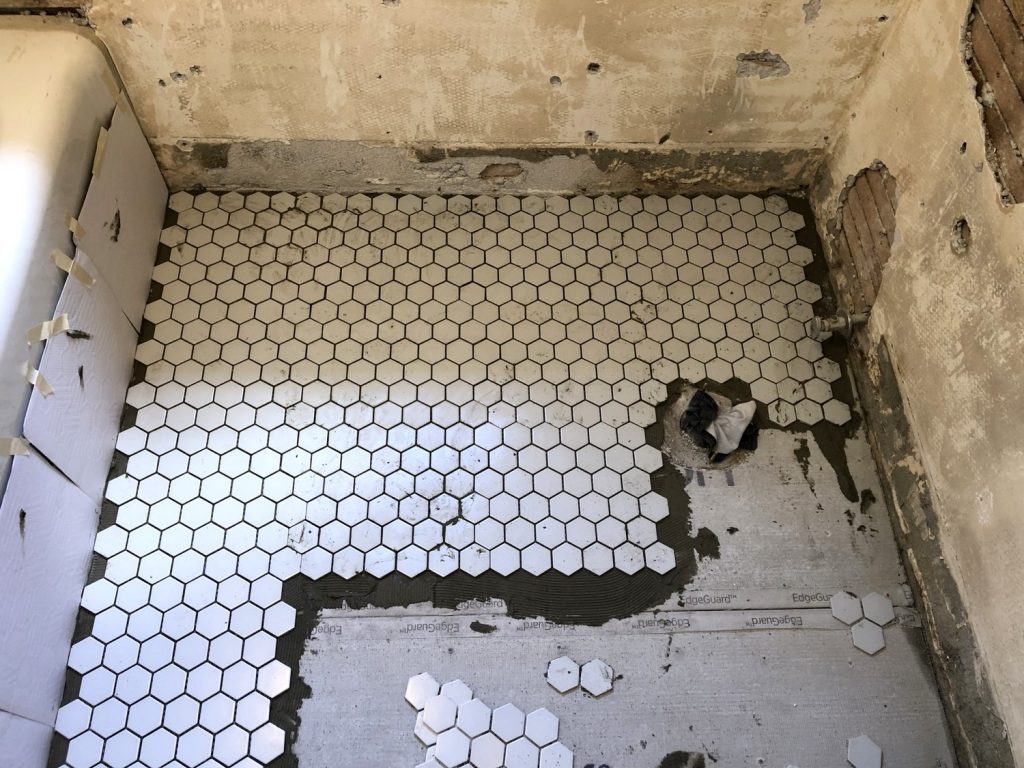
When working with mosaics, we will need tools such as: a construction mixer, a trowel, a tape measure and a level for marking, a rubber float, a comb and an assembler for sealing joints in tiles.
Preparation of the surface for laying The Mosaic Tiles.
The mosaic is laid on a surface treated with a waterproofing layer with reinforcing mesh. After that, using a tape measure and a level, measure and mark the surface on which the mosaic will be located. You will need three sheets of mosaic. Remember to place them at the same distance. After taking the measurements, graph the results horizontally and vertically.
Choose glue
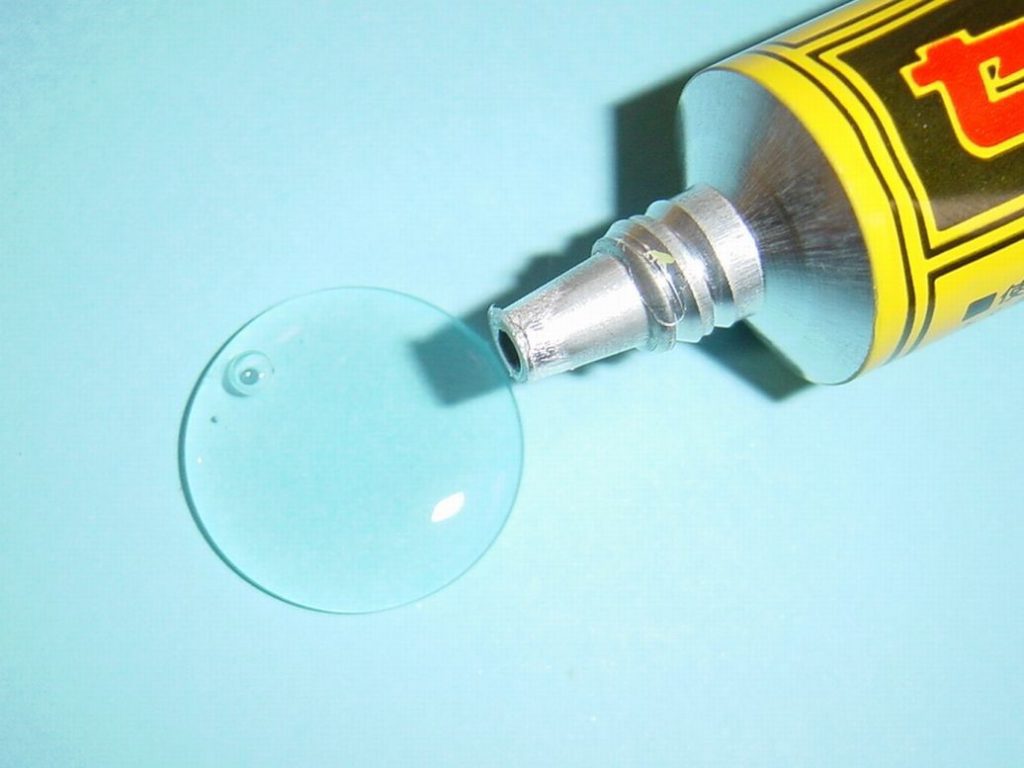
The composition of the glue that we will use depends on the type of surface. The glue is applied evenly with a spatula with teeth (on average, its height is 3.5-4 mm). Experts advise using white glue so that all the material has the same shade.
Mosaic laying
Paper backed mosaic:
- Mosaic on a paper base. It is laid on the surface with the base up. Use a notched trowel to achieve an even distribution of the adhesive.
- Place the first and second lines one after the other. After that, you need to blot the paper with a damp sponge and wait until it moves away from the surface.
- Then remove the paper from the mosaic by pulling the top corner diagonally. This must be done as carefully as possible so as not to hurt the mosaic itself.
- Then level the tiles and joints with a trowel and remove excess adhesive until dry. Use the strokes of the float to level the surface in individual areas. Following the same rule, lay the subsequent lines and leave the tiles to dry for 24 hours.
Laying the mosaic on the grid:
If you want to lay a mosaic on a grid, use a special technology. Using a rubber trowel, press down on the sheet until one side of the mosaic (fiberglass mesh) is saturated with adhesive. Then stick the sheet to the surface, face up, pressing down with a rubber spatula. During work, always make sure that the seams between the sheets correspond to the distance between the mosaic chips.
Sealing of seams
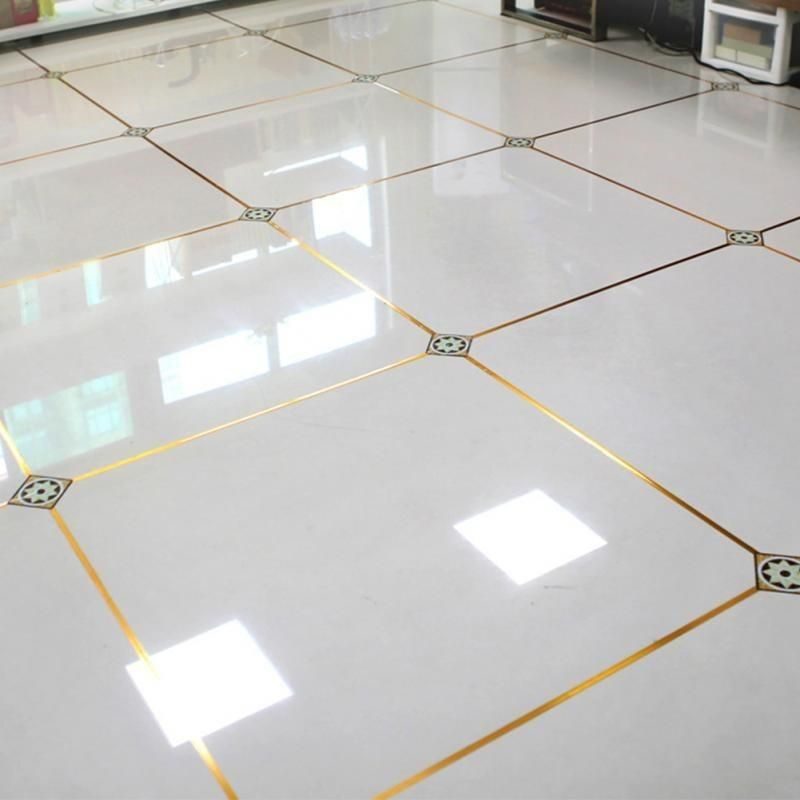
After the mosaic is laid, it remains to be convinced of the conscientiousness of the work done and to close up the seams. To do this, clean the surface from dust and glue that may appear during the installation process. Seams are closed with a mixture of colored grout and latex additives using a jointer (cone-shaped polyethylene bag). After grouting is done, wipe down the surface. In the event that a room tiled with mosaics is planned to be exposed to high humidity (for example, a swimming pool), wait two weeks before starting to use it.

As the editor of the blog, She curate insightful content that sparks curiosity and fosters learning. With a passion for storytelling and a keen eye for detail, she strive to bring diverse perspectives and engaging narratives to readers, ensuring every piece informs, inspires, and enriches.


