Do you ever feel like you are living on the surface of the Sun? Are your floors hot enough to fry an egg on them? Have you forgotten what it’s like to be cold and fear you’ll never experience it again?
While these statements may sound overly dramatic, you can understand the difficulties of living in a hot, non-air-conditioned home. Let’s read the full process of split system installation.
Split system installation procedure
- Sunlight and heat source should be restricted.
- Avoid areas where there is a risk of gas leaks, oil mist or sulphur.
- The indoor unit requires at least 6 inches (15 cm) of open space on all sides and top. The unit must also be installed at a height of at least 7 feet.
- Fit the AC at least 1m-2m away from all connecting lines of TV and radio.
- The weight of the unit must be supported by a sturdy wall. To provide additional support, you may need to build a wooden or metal frame.
Secure The Mounting Place to Interior Wall
- Place the mounting plate against the wall where the indoor unit will be mounted.
- Make sure the plate is level both horizontally and vertically using a level.
- Punch holes in the wall at strategic places to secure the plate.
- Fill the hole with plastic anchors. Tap screws are used to secure the plate to the wall.?

Create A Hole for Fitting in The Wall
- Determine the best location for the hole outside, based on the opening in the mounting bracket. You should also think about the length of the pipe and the distance it needs to cover to reach the outside unit.
- Drill a hole through the wall that is 3?? (7.5 cm) in diameter. To ensure adequate drainage, the hole should slope downward toward the exterior.
- Fill the hole with a flexible flange.
Check The Electrical Connections
- Remove the cover from the front panel of the unit.
- Make sure the cable wires are securely attached to the screw terminals. Also, double-check that they conform to the diagram included in the unit.
Connect the Pipes
- Connect the indoor unit to a hole drilled through the wall with piping. Minimize bending to make sure the unit performs well.
- PVC pipe should be cut 1/4?? (6 millilitre) shorter than the length of your interior and exterior wall surface.
- Place the pipe cap on the inner end of the PVC pipe. Fill the hole in the wall with pipe.
- Use electrical tape to connect the copper pipe, electrical wire, and drainpipe. To ensure free flow of water, place the drainpipe at the bottom.
- Connect the pipe to the indoor unit with a pipe clamp. Tighten the connection with two wrenches, working in opposite directions.
- Connect the drainage pipe to the base of the indoor unit.
Advantages Of Split System Installation
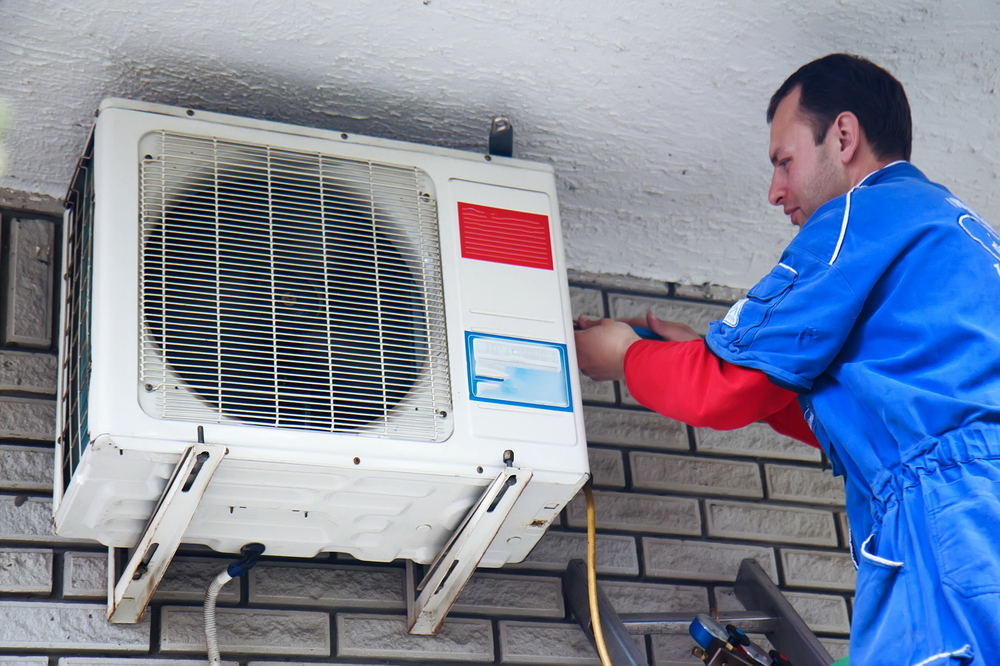
As the name implies, one half of this type of cooling system is installed outside, while the other half is installed inside your home. Internal components draw hot air from inside the house and circulate it through condensers to the outside.
The cold air is then channeled back into individual rooms, reducing the overall temperature of the property. During the winter, the process of split system installation can be reversed to provide warmth. For all your home service and repair needs, contact a professional.?
Conclusion
The entire article is basically based on split system installation. If you want to know full procedure of split system installation, then go through the entire article.

As the editor of the blog, She curate insightful content that sparks curiosity and fosters learning. With a passion for storytelling and a keen eye for detail, she strive to bring diverse perspectives and engaging narratives to readers, ensuring every piece informs, inspires, and enriches.


